Image Editor Tips - Textures
The filters in the Image Editor can be used to create a wide variety of textures for images or Web backgrounds. Here are a few ways of creating textures:
Clouds
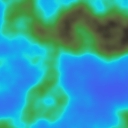
Clouds can be easily created with the Fractal Brownian Motion filter, using a Gradient which goes from blue to white wiht a fairly sharp transition in the middle (such a gradient comes is in the standard gradient set). Just fire up the Fractal Brownian Motion filter, select the gradient and then play with the filter parameters to get a pleasing effect.

Stone
Stone textures can be created by applying the Light Effects filter to the output of a filter such as the Plasma or Fractal Brownian Motion filter.


Fire
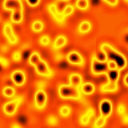
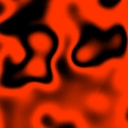
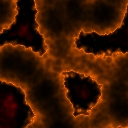
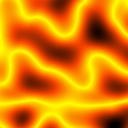
You can get many interesting fire-like effects by using the Noise or fBm filters with an appropriate color map. The colours you use are very important - you need a range which goes from black through red, orange, yellow to white.

Wacky
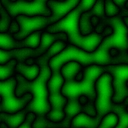
The Fractal Brownian Motion filter is useful for producing all sorts of random textures. These examples are very unsubtle, but you can produce realistic textures by using more subdued colors and combining multiple layers.
Cracked Earth
Here's an exmaple of how to create a simple cracked earth texture. First we start with a blank white image and then use the Crystallize filter to produce some wonky hexagons. This will become our bump map:
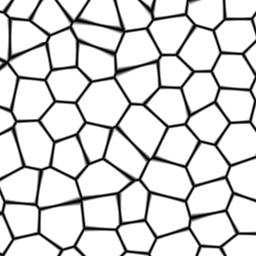
Hexagons
Next, we roughen up the hexagon shapes using the distortion filters. Here I've used the Marble filter:
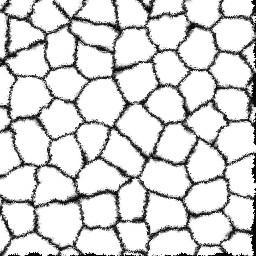
Roughened Hexagons
Then we create an image filled with an earth color and add a bit of variety to it by adding a layer of noise using the Fractal Brownian Motion filter:
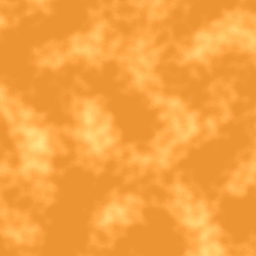
Earth Texture
Finally, we use the Light Effects filter to texture the earth image with the hexagons. To make the cracks show up even better, we then use the Multiply blend mode to blend the image with the original bump map:
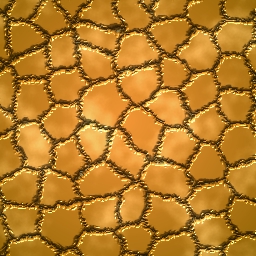
Bump-mapped Earth
You can use variations on this technique to produce all sorts of textures such as lizard skin or leather.
Beaten Copper
Producing a nice beaten copper texture is very easy. Start with a blank image and use the Fractal Brownian Motion filter with the Cellular basis to make our bump map:
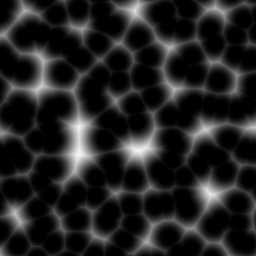
Cellular Bump Map
Next, add a new layer and fill it with a copper color. Then use the use the Light Effects filter with the bump map we created above. To make it look like metal, turn up the reflectivity and use an environment map. Here I've used a sky image. Here's the result:
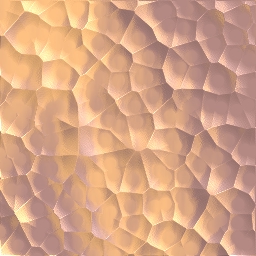
Beaten Copper